

Pro Tips to Sand Floors in Tight Corners and Small Landings
Tackling staircases, small landings and awkward corners can feel like the “boss level” of floor restoration. Flat rooms give you space to manoeuvre and broad, forgiving surfaces. Stairs and tight spaces demand finesse, safer handling, and a methodical plan. Whether you’re a seasoned DIYer or a facilities manager planning a refurbishment, the principles below will help you avoid scratches, scallops, and snipe—and achieve a consistently smooth, durable finish.
If you’re weighing up a DIY approach versus bringing in specialists, this guide shows you the techniques, order of work, and safety considerations needed to do it right. And if the process sounds like more hassle than it’s worth, you can always have professionals Sand Floors for you.
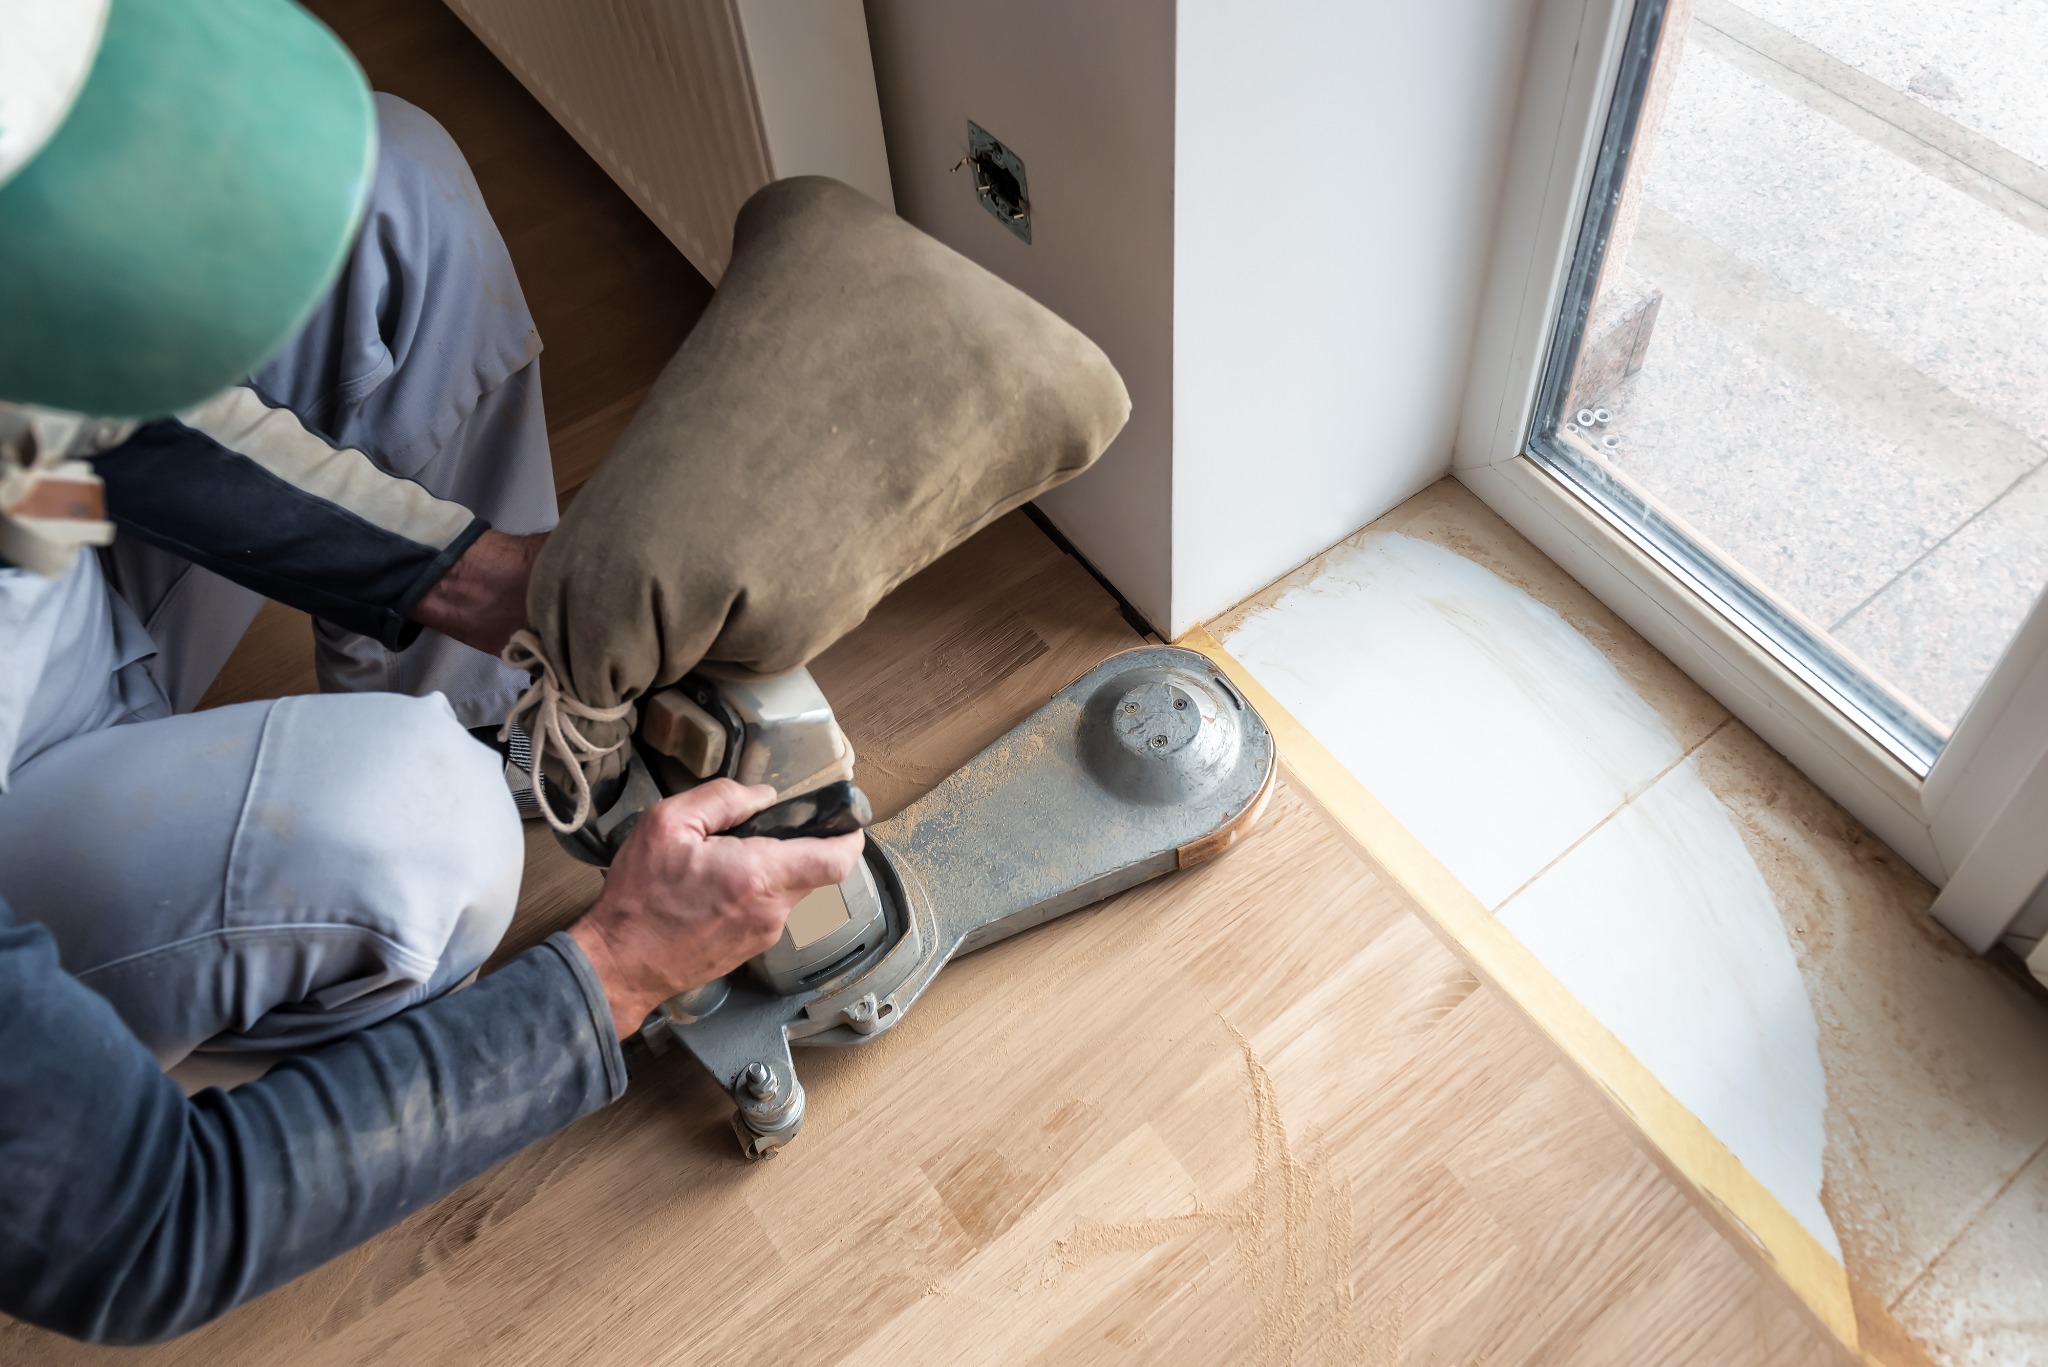
Why stairs, landings and corners are different
- Safety margins are smaller. A misplaced cable or a slip on a stair nosing is far more hazardous than in an open room.
- Short grain runs. Many stair treads have end grain and edges that are easy to gouge if you use the wrong pressure or grit.
- Multiple surfaces and angles. Treads, risers, stringers, newel posts, spindles, winders, nosings, and returns—all interact visually, so transitions must be even.
- Machine limitations. Big belt sanders don’t fit; smaller or specialised tools take longer and can leave tell-tale marks if technique is off.
Tools and materials you’ll need
A. Machines & hand tools
- 100–150 mm random orbital sander (variable speed)
- 75–100 mm belt sander (optional but helpful on landings)
- Detail/“delta” sander for corners and along spindles
- Oscillating multi-tool with sanding pads for edges and tight returns
- Cabinet scraper and pull scraper (razor-sharp, with burnisher)
- Hand sanding blocks (cork or rubber)
- Tack cloths and microfibre cloths
- Vacuum with HEPA filter and brush/floor nozzle
B. Abrasives (typical sequences)
- Coarse cut: 40 or 60 grit (start as coarse as needed, as gentle as possible)
- Medium cut: 80 grit
- Fine cut: 100–120 grit (occasionally 150 on oily hardwoods)
- Mesh screens (120–150) for denibbing between coats
C. Repairs & filling
- Punch, set, and countersink for nails/pins
- Wood glue for loose nosings
- Resin filler plus sanding dust, or flexible sliver/strip fillers
D. Protection & safety
- FFP3 (or P3) dust mask/respirator
- Safety specs and ear protection
- Gloves with good grip
- Dust sheets, masking tape, low-tack edge tape for paintwork
- Lighting: head torch or portable work light to reveal swirl marks
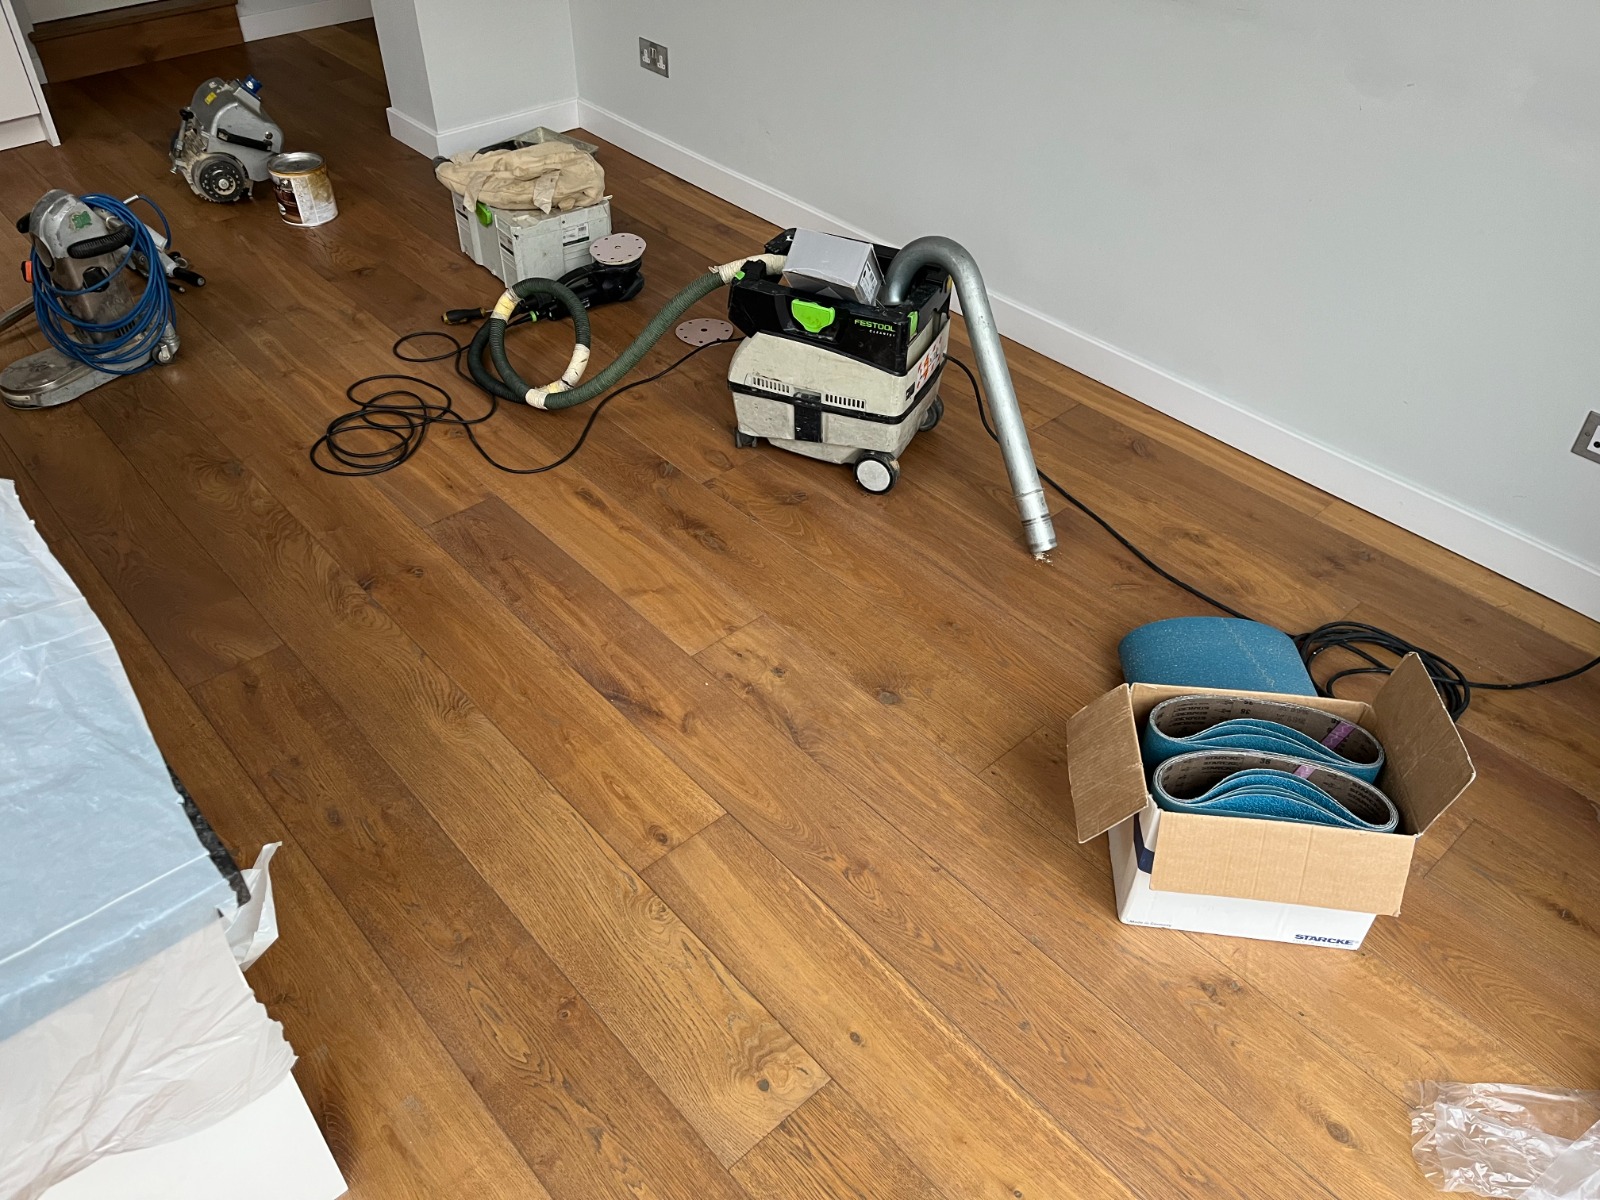
Plan the sequence before you touch a sander
Before you Sand Floors, map out the order of work. The safest, cleanest sequence usually looks like this:
- Repairs first. Fix creaks, tighten loose boards, re-adhere nosings, and set protruding nails (below the surface).
- Contain dust. Seal off adjacent rooms with plastic and tape; switch off HVAC; lay dust sheets below staircases.
- Power and cables. Run cables along walls and tape them down; never across treads you’re actively sanding.
- Lighting. Position lights low and across the grain to highlight scratches.
- Escape route. Work top-down on stairs so you’re not trapped; plan landing work so you can step off safely between coats.
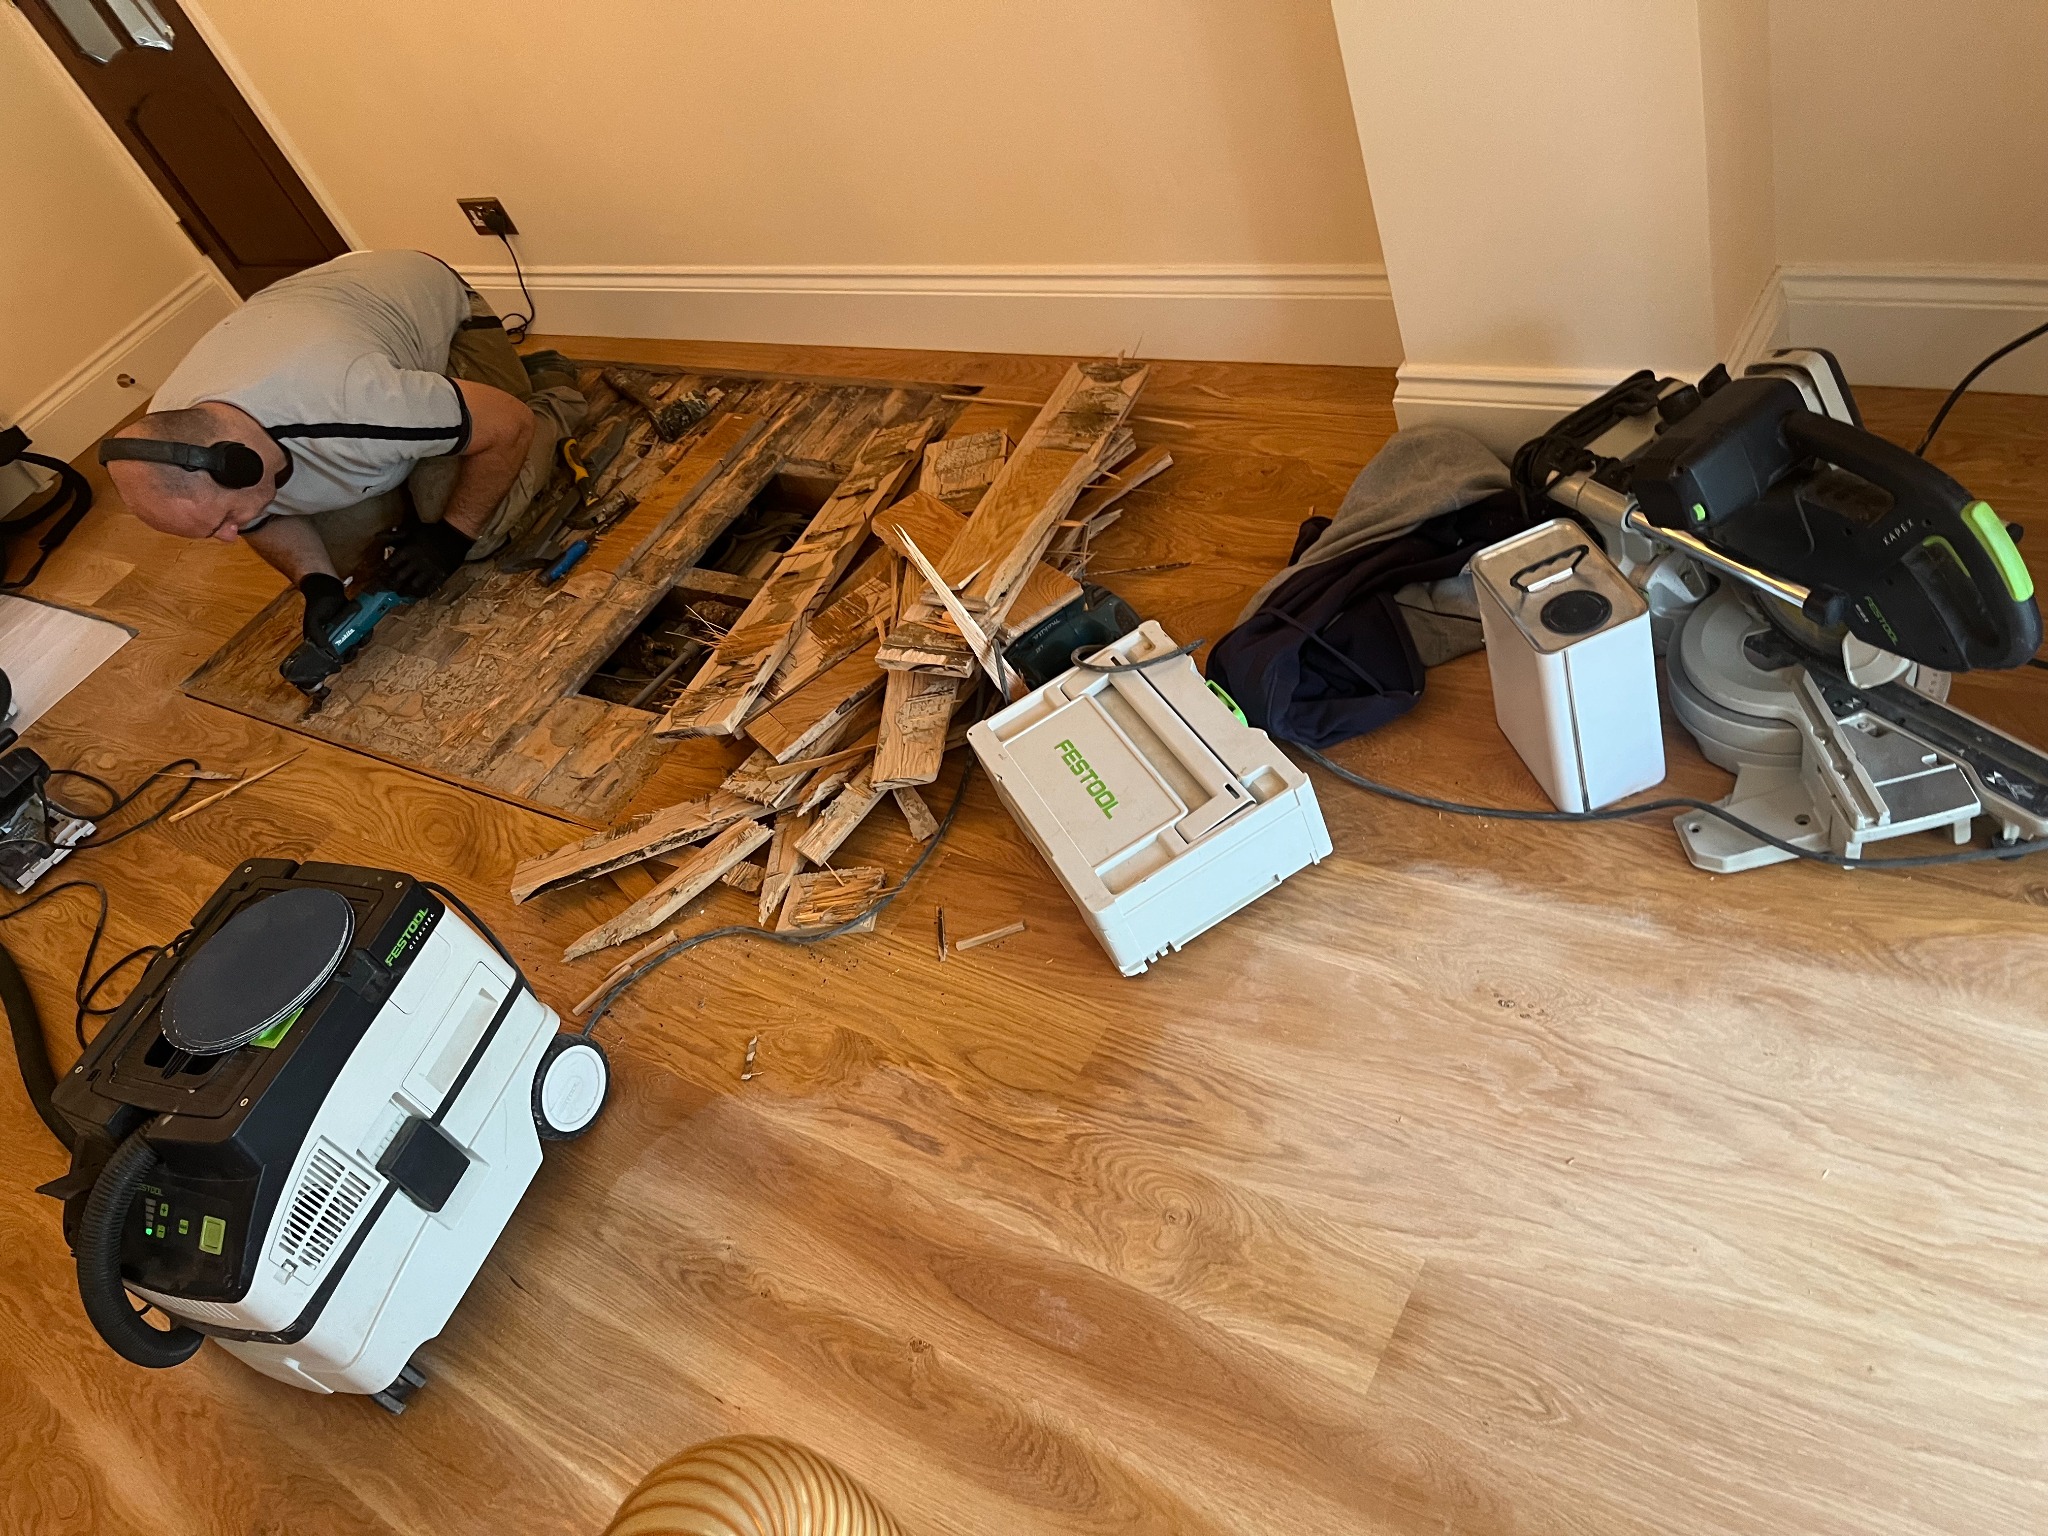
Staircases: a step-by-step method
On staircases, the way you Sand Floors safely is slightly different to open rooms. You’re dealing with small, hard-wearing surfaces that need grip, accuracy and clean edges.
1) Inspect and prepare each step
- Nail heads & screws: Tap down and countersink; any metal will shred abrasives and gouge the timber.
- Loose nosings: Reglue and clamp; a sprung nosing is dangerous and will chatter under a sander.
- Old coatings: Identify shellac, varnish or oil. Thick varnish may call for a coarser initial grit.
- Painted risers or stringers: Decide whether to refinish them or mask to keep them painted.
2) Mask and protect
- Low-tack tape along painted stringers and skirtings; card or plastic to shield newel posts if not being sanded.
- Protect edges of spindles and handrails if they’ll remain as-is.
3) Coarse cut on treads (the “levelling” pass)
- Start with 40–60 grit on a random orbital or compact belt sander.
- Work with the grain where possible; on narrow treads, you may run diagonally with very light, even pressure, then finish with the grain.
- Keep the machine flat—do not tilt onto an edge; tilting creates “dishing” and gouges at the nosing and back edge.
- Nosing & returns: Use a detail sander or scraper to reach curves and intrusions. Scrapers are brilliant here—keep them razor-sharp.
4) Risers and stringers
- If you’re stripping risers to bare wood, use the random orbital at a lower speed (heat builds quickly on vertical faces).
- For paint you intend to keep, a light denib with 120 grit and a fresh coat later often looks smartest.
5) Winders, kite winders and tight returns
- Approach winders as mini-landings: divide into triangles, ensuring each segment is sanded with the grain orientation it shows.
- A scraper followed by a detail sander reduces cross-grain scratches in narrow inside corners.
6) Medium and fine cuts
- Progress to 80 grit to remove coarse scratches; track your scratch pattern with raking light.
- Finish with 100–120 grit on treads. Stop at 100 on softwoods if you want better finish adhesion; 120 on hard oaks often yields a finer look.
7) Hand finishing the nosings
- Wrap paper around a radiused block and follow the curve of the nosing; this prevents flat spots.
- Feel for uniformity. Your fingertips will detect ripples that eyes miss.
8) Gap filling (optional but recommended)
- Mix fine sanding dust with resin filler to match colour; press between tread and riser or along open joints.
- For larger gaps, consider sliver filling—thin timber strips glued in place then flushed off.
- Allow fillers to cure fully; re-sand locally with the final grit.
9) Dust removal
- Vacuum meticulously, especially the tread-riser intersection and nosing underside.
- Wipe with a microfibre cloth; avoid wet wiping before finishes unless your system allows for it.
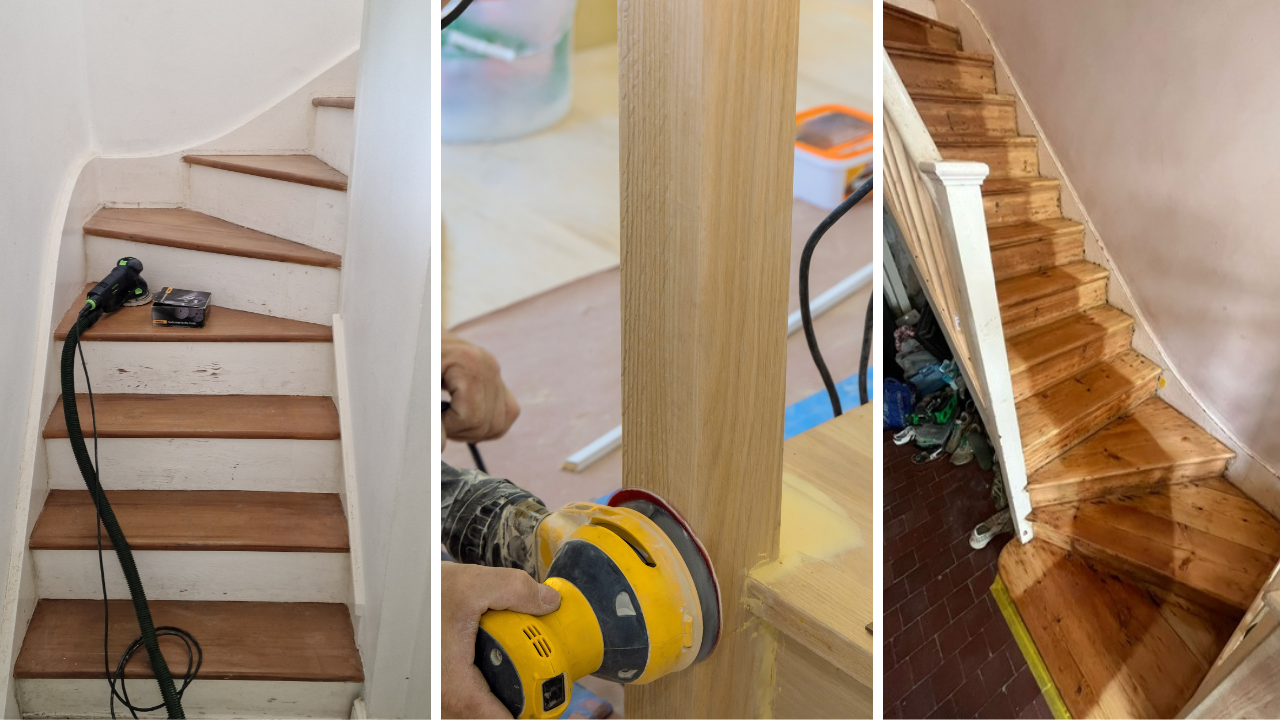
Landings: small spaces, high standards
On compact landings, you can Sand Floors efficiently with a small belt sander or a random orbital used correctly.
Smart techniques for landings
- Direction: Aim to sand with the grain of the boards. If boards run awkwardly into a doorway, blend your passes so scratch patterns don’t stop abruptly at thresholds.
- Edge blending: Feather towards perimeters using a detail sander or by easing pressure on the final 100–120 grit pass.
- Thresholds: Hand-sand the last 30–50 mm into metal or timber thresholds to avoid nicking them. Mask metal edges.
- Doorways: Remove doors if possible and sand beneath the swing path so the finish doesn’t wear prematurely.
- Levels: Where a landing meets a previously sanded room, use a straightedge to ensure there’s no ridge caused by over-sanding the landing.
Tight corners and awkward edges
To Sand Floors where machines can’t reach, revert to hand tools and patience.
- Cabinet scrapers are your best friend. With a proper burr, they slice finish cleanly without tearing fibres. Re-burnish frequently.
- Delta/detail sanders remove the scraper’s faint tracks. Keep them moving; don’t let the tip dig in.
- Oscillating multi-tools with sanding pads help along skirtings, behind pipe collars, and inside tight returns.
- Avoid “dishing”. Softwoods are especially prone to hollows if you concentrate pressure in one spot. Use a firm block to keep surfaces flat.
- Feathering: Always work from coarse to fine, easing pressure as you approach the visible field to blend your work seamlessly.
Choosing the right grit progression
Getting the first cut right is half the job. Too fine, and you’ll polish the old finish rather than remove it; too coarse, and you’ll chase deep scratches for hours.
- Old, thick varnish: Start at 40 grit, then 60 → 80 → 100.
- Moderately worn oil/varnish: Often 60 → 80 → 100 is enough.
- Softwoods (Victorian pine boards): Avoid jumping grits; 40 → 60 → 80 → 100 delivers an even surface without washboarding.
- Hardwoods (oak): You may finish at 120 if the chosen coating benefits from a finer scratch.
- Engineered treads: Extreme caution. Many engineered stair treads have a thin wear layer (2–4 mm). Measure before you commit. In many cases, a light abrasion and recoat may be safer than a full cut.
Repairs and gap filling: when and how
- Creaks and movement: Identify movement at the stringer, tread-to-riser joint, or the fixing to the centre carriage. Add screws from the underside where possible.
- Nail holes & small defects: Resin-and-dust mixes blend well; choose a slightly darker tone rather than lighter—it’s less conspicuous.
- Edge gaps: Where treads meet stringers, a flexible filler may be better than rigid resin to accommodate seasonal movement.
Dust control: the difference between tidy and traumatic
- Use HEPA extraction on every machine that supports it.
- Vacuum after each grit; lingering abrasive particles act like rogue 60-grit under your 100-grit pass.
- Keep a clean pair of socks or overshoes for inspection; gritty soles scratch.
- Seal doorways and return vents. Dust has a habit of migrating into freshly finished rooms.
Finishing choices for stairs and landings
Stairs demand finishes that balance beauty with slip resistance and abrasion resistance.
Oils and hardwax oils
- Warm, natural appearance; easy to patch-repair.
- Add anti-slip microbeads to the final coat on treads for better grip.
- Typically two to three coats, with light denibbing between coats.
Water-based lacquers/varnishes
- Clear to slightly cool tone; very durable; low odour.
- Choose heavy-traffic or commercial-grade formulas for treads.
- Satin or matt hides minor scuffs better than gloss on stairs.
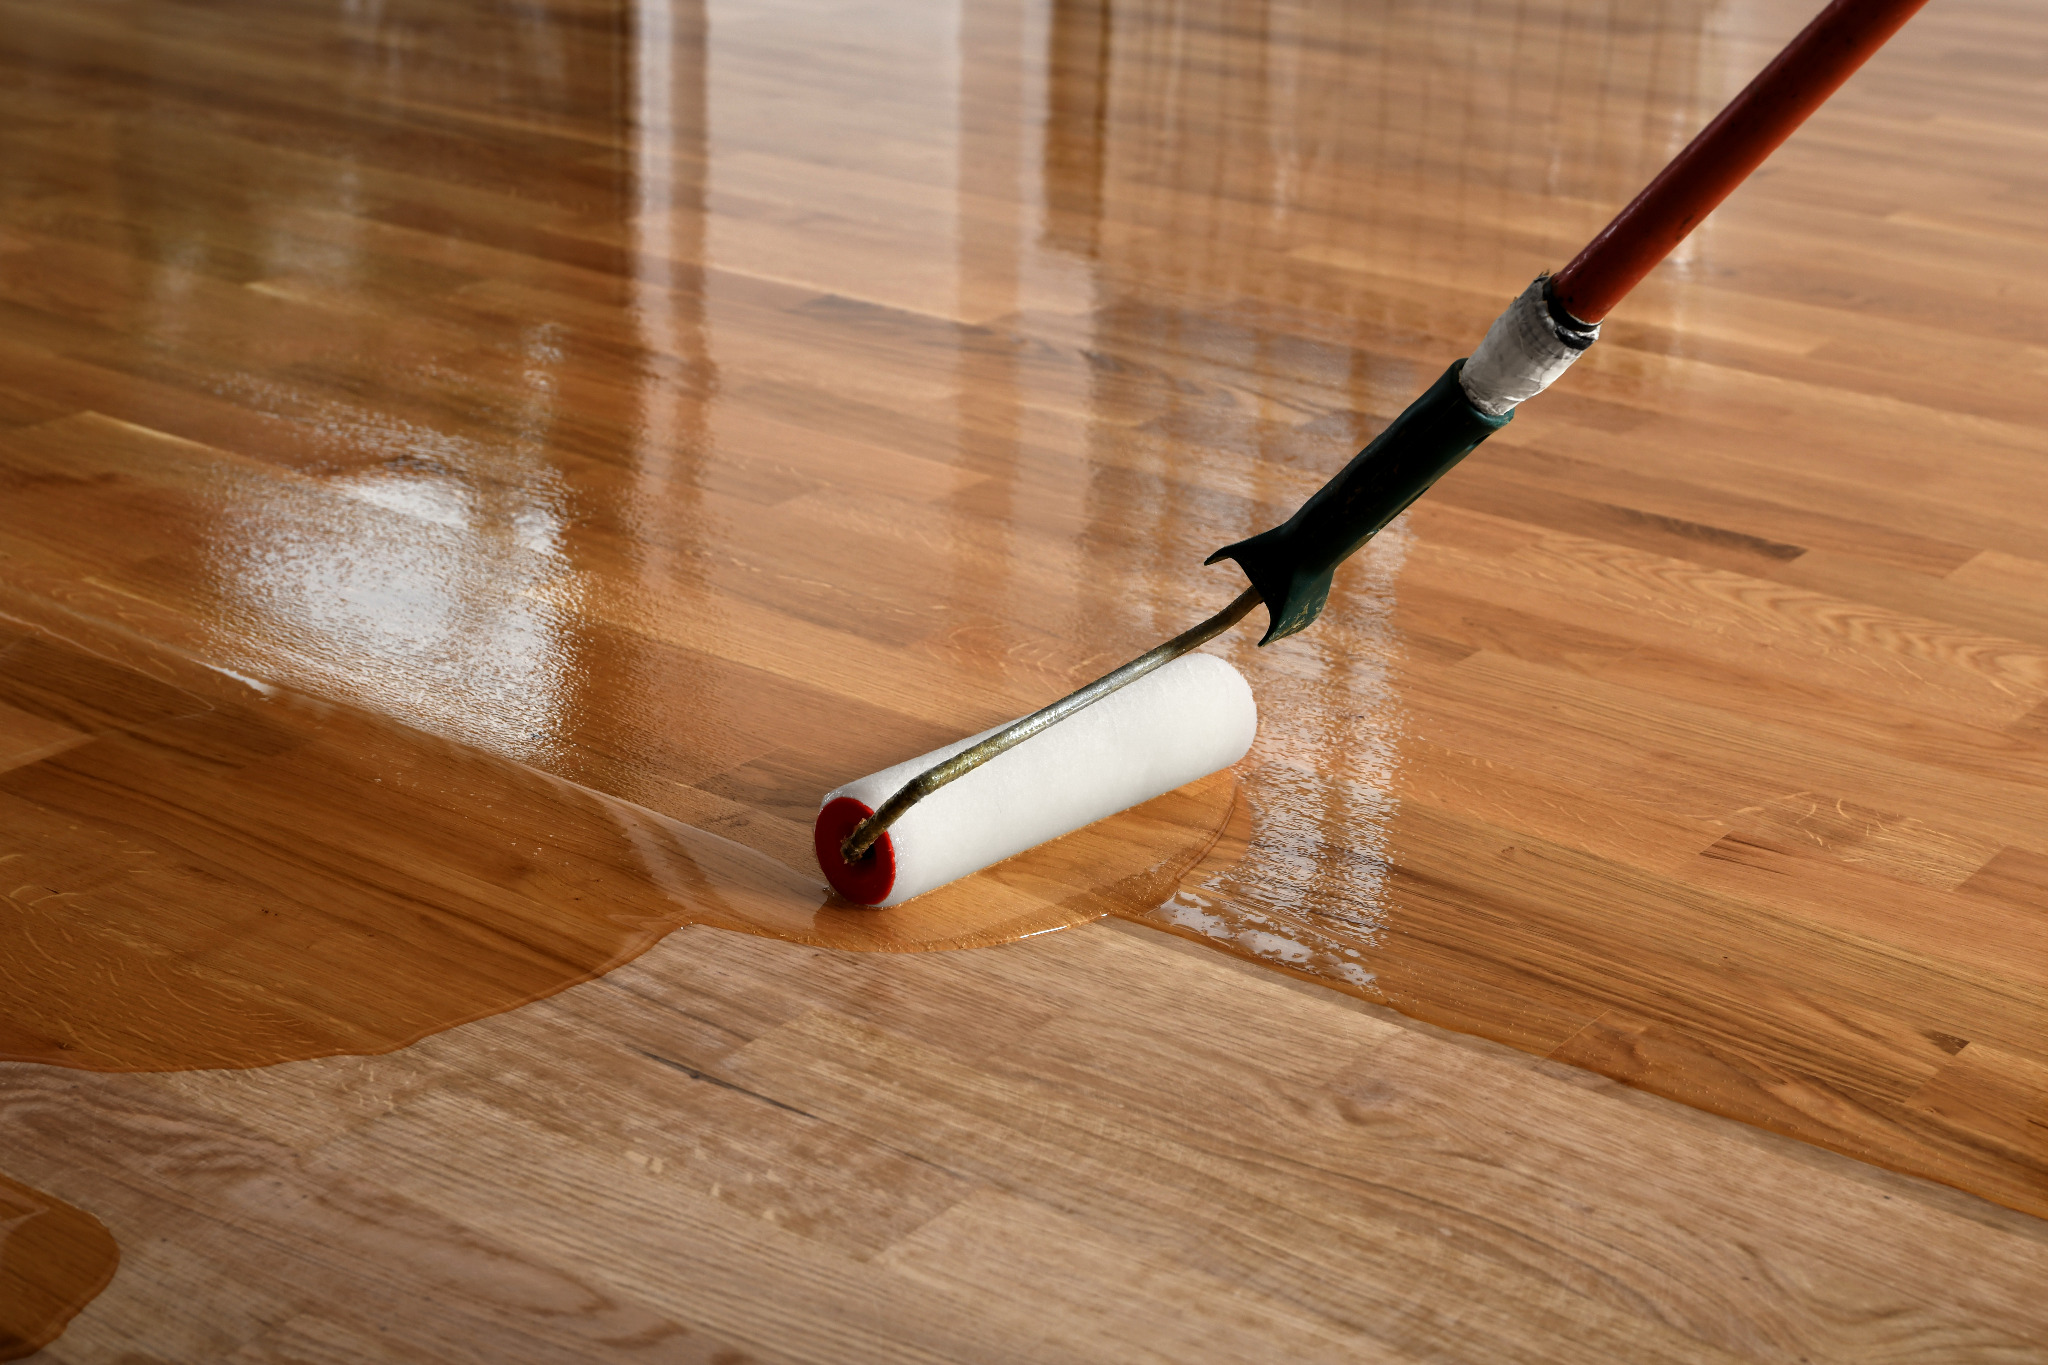
Application tips specific to stairs
- Work top-down, coating every other tread first so you can still move between floors, then fill in the skipped treads once dry to the touch.
- Watch the nosings. Thin, even coats prevent drips. Wipe any runs immediately.
- Edges first, field second to maintain a wet edge and reduce lap lines on landings.
- Denib each coat with a 120–150 mesh screen or 240 paper; vacuum thoroughly.
Drying, curing and early-life care
- Respect recoat windows—too soon and you trap solvent; too late and you risk poor intercoat adhesion.
- Light foot traffic may be permitted after 4–24 hours depending on product; full cure can take 5–14 days.
- Avoid rugs for the first 7–10 days; adhesives and backings can imprint or block curing.
- Fit felt pads to any furniture that returns to landings; sharp edges will spoil your work in minutes.
Common mistakes—and how to avoid them
- Starting too fine. If 80 grit is polishing, not cutting, drop to 60 or 40 until you’re removing finish efficiently.
- Tilting the sander. Keep the pad or platen flat, especially near nosings.
- Over-sanding softwood. Pine dishes easily; use firm blocks and moderate pressure.
- Skipping grits. Jumping from 40 straight to 100 leaves deep scratches that telegraph through clear finishes.
- Ignoring dust containment. A clean site is a safe site—and a better finish.
- Poor lighting. Raking light reveals issues before you coat, not after.
- No slip-resistance. Stairs need grip; select products or additives accordingly.
- Trapping yourself. Always plan a way out—coat alternate treads first.
Frequently asked questions
Q: Can I live in the house while stair sanding is underway?
A: Usually yes, with planning. Work top-down and coat alternate treads so you retain access. Keep pets and children away from the work zone, and plan for noise and dust during active sanding.
Q: Do I need to remove all paint from risers?
A: Not necessarily. Many homeowners prefer freshly painted risers with bare-wood treads. If the paint is sound, a light sand and a new coat is enough.
Q: My stairs are engineered. Is sanding safe?
A: Measure the wear layer at an edge or off-cut if available. If it’s under 3 mm, a full resand may be risky; consider a deep clean, spot repairs and a recoat instead.
Q: Which grit should I finish on before lacquer?
A: 100–120 for most hardwoods. Follow the lacquer manufacturer’s guidance; some prefer a slightly coarser key to aid adhesion.
Q: How do I avoid swirl marks?
A: Keep random orbitals moving, use fresh, quality abrasives, vacuum between grits, and finish with the grain by hand where light catches the surface.
Maintenance after the job
- Routine cleaning: Vacuum with a brush head; use pH-neutral cleaners designed for your finish.
- Spot repairs: One benefit of oils/hardwax oils is patchability; small scuffs can be abraded locally and refreshed.
- Periodic refresh: Light abrasion and a maintenance coat every few years keeps treads looking crisp and grippy.
- Entrance discipline: Mats at doorways reduce grit that acts like sandpaper on landings.
When to call a professional
If your stairs are heavily damaged, coated in unknown finishes, or you’re short on time, calling in specialists can be the most economical choice in the long run. They’ll bring dust-extraction, edge-to-edge consistency, and the right finishing system for your timber and household traffic.
If you’d like an experienced team to Sand Floors to a high, slip-safe standard—with minimal dust and maximum durability—get in touch for a tailored quotation and scheduling that works around your household.