Wood Floor Sanding: The Stress-Free Way to Revive Your Home
If your timber floors look grey, scratched and lifeless, you’re not alone. Years of shoes, pets, furniture and spills will eventually take the shine off even the best floors. The good news? You don’t need to rip everything out and start again.
With professional wood floor sanding and refinishing, those tired boards can be transformed into a clean, bright, modern floor that lifts the whole room – often in just a day or two.
In this guide, we’ll walk you through how the process works, what to expect, and why choosing experts saves you stress, dust and money in the long run.
Why tired boards make your whole room feel “off”
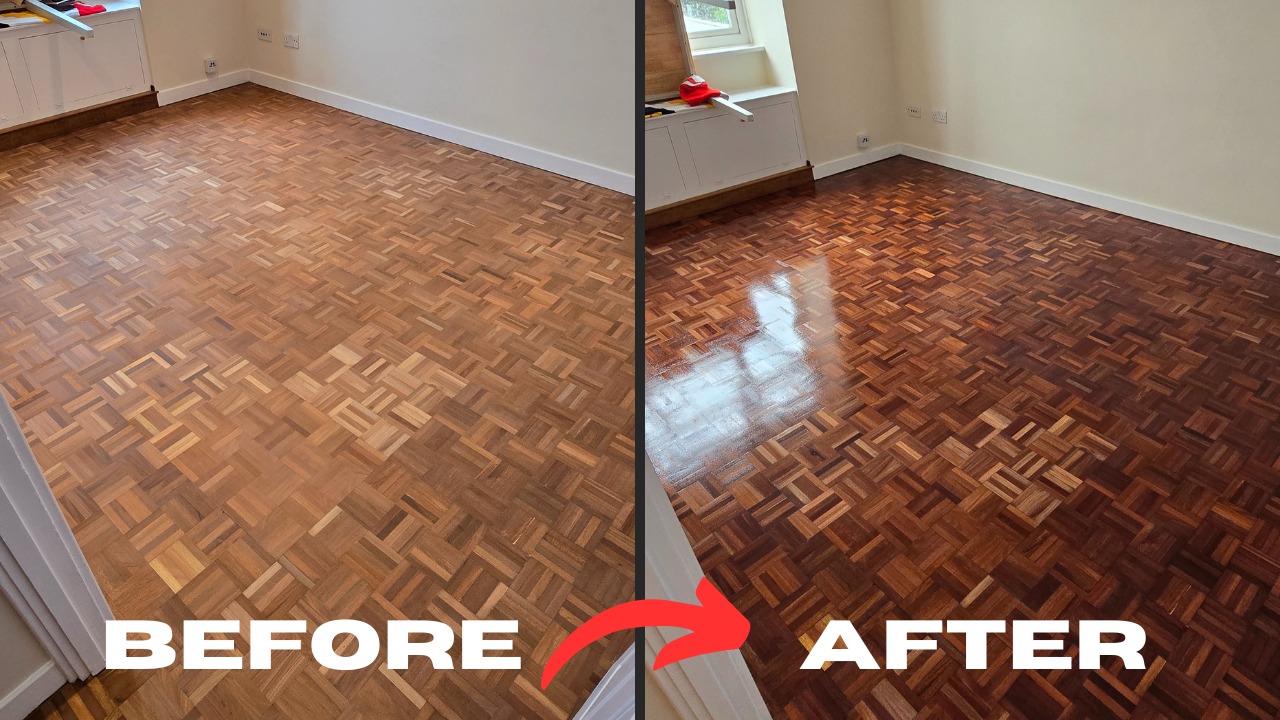
You can have beautiful furniture, fresh paint and trendy lighting, but if your wooden floor is dull and damaged, the room will always look a bit… tired.
Common problems we see every week:
- Grey, worn patches where the finish has completely disappeared
- Deep scratches and scuffs from chairs, pets and grit
- Old, orange varnish that makes the room feel dark and dated
- Black water marks around sinks, doors or radiators
- Gaps between boards that collect dust and draughts
The floor is the biggest surface in most rooms. When it looks bad, everything else has to work harder. When it looks great, even simple décor suddenly feels more expensive.
That’s where professional wood floor sanding comes in – stripping away years of damage and revealing fresh, clean timber again.
What is wood floor sanding (and what it isn’t)?
At its simplest, wood floor sanding is the controlled removal of the old finish and a very thin layer of wood using specialist machines. It’s followed by new protective coats such as lacquer, oil or hardwax.
Done properly, it:
- Levels out wear and minor unevenness
- Removes old varnish, stains and shallow damage
- Prepares the surface so new finish bonds properly
- Gives you a smooth, attractive, easy-to-clean floor
It is not:
- Grinding your floor away to nothing
- Creating clouds of dust through your home
- A quick buzz-over with a DIY hire machine
Modern, professional wood floor sanding uses powerful, dust-controlled equipment and graded abrasives in several stages. The result is a flat, even surface that’s ready for finishing – without gouges, swirl marks or waves.
Step-by-step: How we restore tired boards fast
Every home is different, but our process tends to follow a simple, proven sequence that keeps disruption low and results high.
1. Assessment and quote
First, we look at:
- The type of floor – solid, engineered, parquet, boards
- The current finish – lacquer, oil, wax, paint
- Damage – loose boards, missing blocks, deep stains
From this, we’ll recommend the right combination of wood floor sanding and finishing, and give a clear, itemised quote.
2. Preparation and protection
On sanding day we:
- Remove or help move light furniture (heavy items by agreement)
- Protect fixed furniture, fireplaces, kitchen units and nearby areas
- Check for protruding nails and screws and punch them below the surface
- Lift or protect thresholds and trims where needed
Good prep is half the job. It keeps your home clean and avoids accidental damage.
3. Repairs and gap filling
Before the main sanding starts, we deal with any structural issues:
- Securing loose boards
- Replacing badly damaged sections with matching timber
- Optional gap filling to reduce draughts and dust
For gap filling, we typically use a flexible resin mixed with your own sanding dust for a close colour match, or timber slivers for larger gaps between boards.
4. Heavy cut: removing old finish
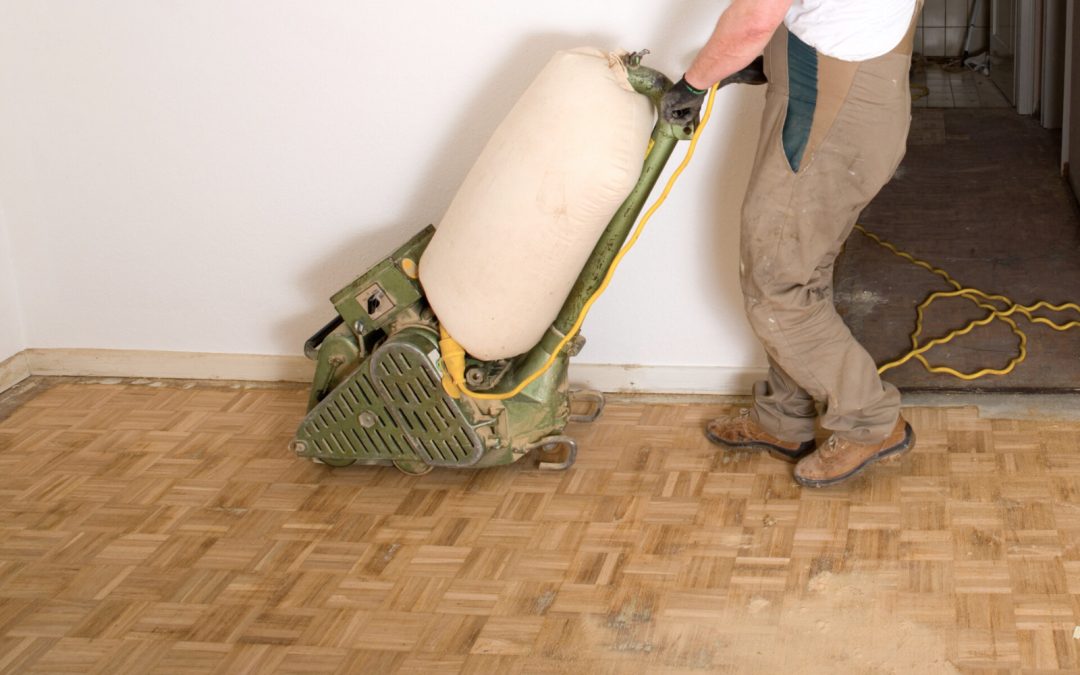
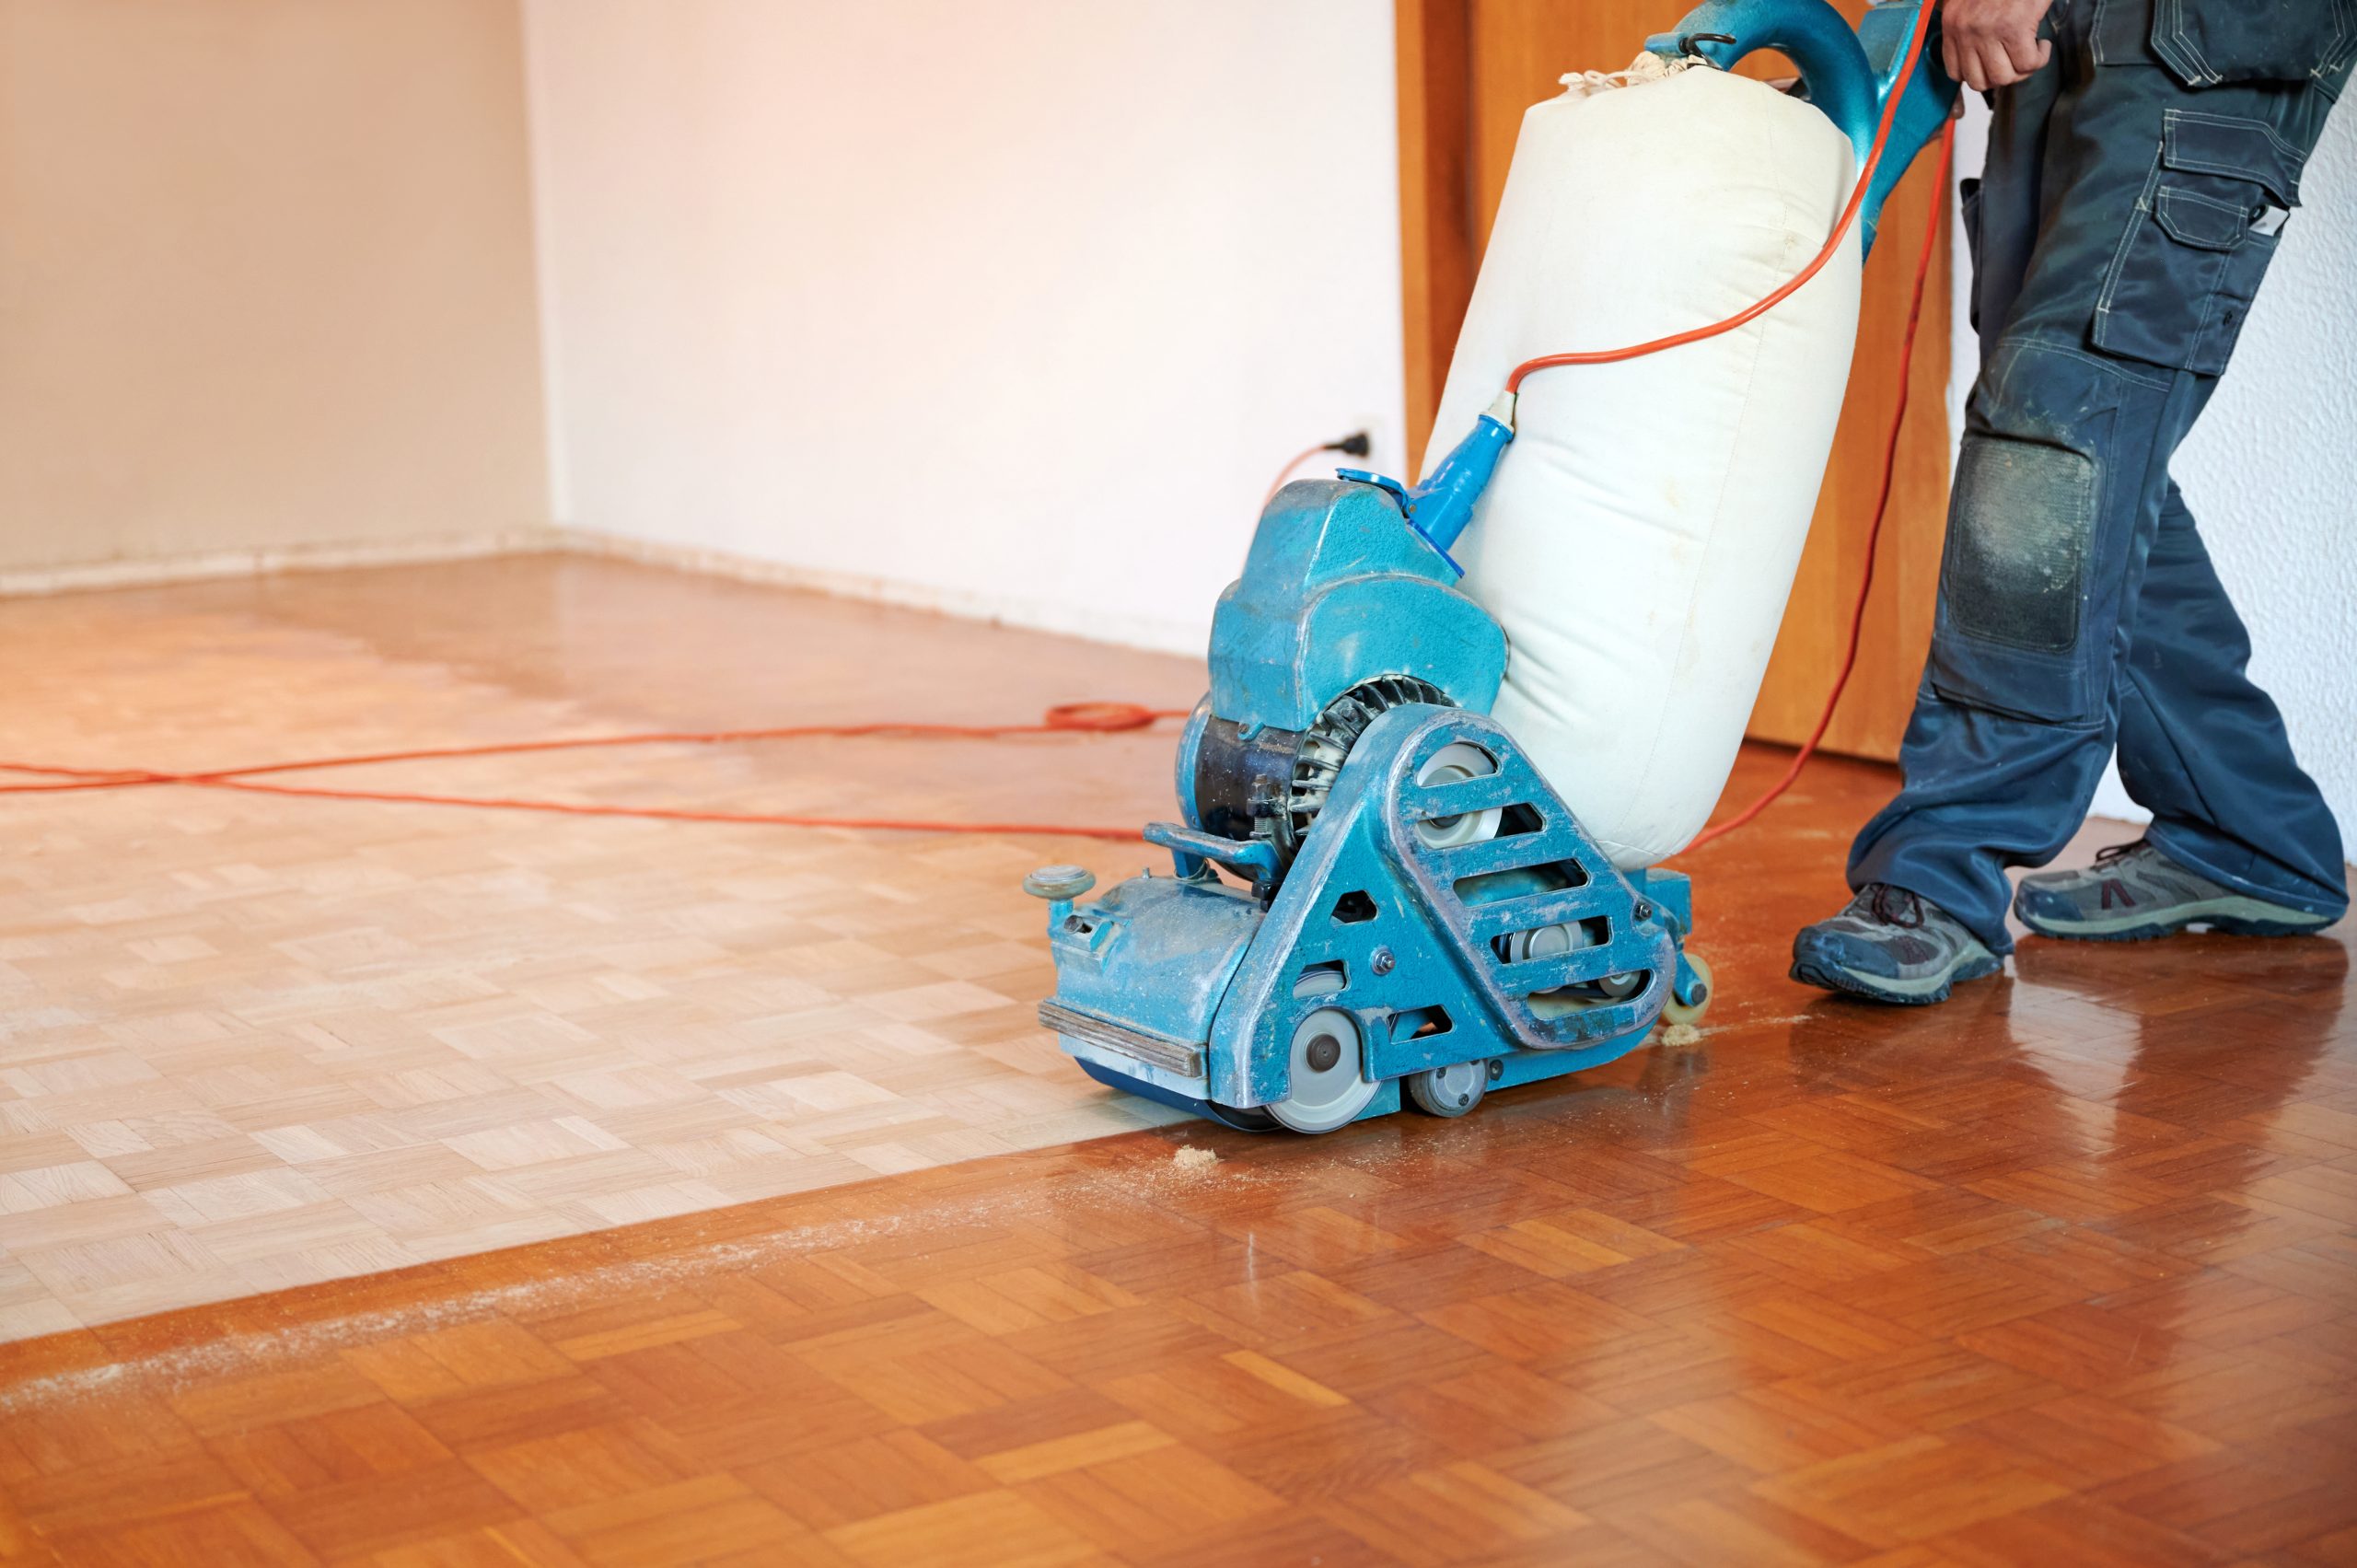
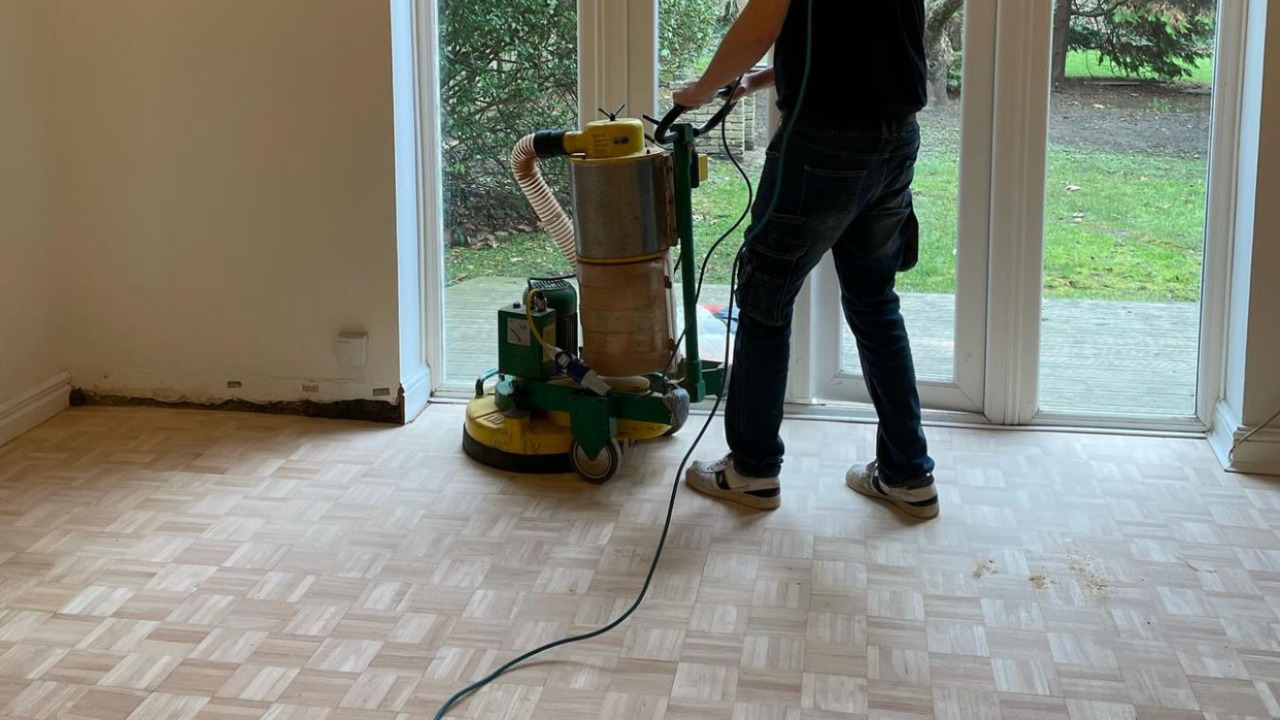
We begin with a coarse abrasive on a professional belt or drum sander to:
- Strip off old varnish, oil, wax or paint
- Cut through stubborn scratches and worn patches
- Level the floor where boards have cupped or moved slightly
Edges, corners and tight spots are sanded with smaller machines to maintain a flat, even surface.
This is where DIY jobs often go wrong – skipping grits, staying too long in one spot or using blunt belts. Our trained technicians follow a set grit sequence so the floor gets smoother at every stage.
5. Fine sanding: creating a smooth, even surface
Next, we sand with progressively finer grits to:
- Remove marks left by the coarse cut
- Blend edges with the main field of the floor
- Prepare the timber for finishing
On many jobs we also screen or buff the floor with a rotary machine to give an ultra-smooth surface – especially important before clear finishes that show everything.
Whether it’s hardwood floor sanding on oak or parquet floor sanding on herringbone blocks, this step is what gives that “factory smooth” look.
6. Staining (optional) for colour
If you’d like to change the colour – maybe from orange pine to a pale Scandinavian look or a rich, darker tone – this is when we apply a stain.
We’ll usually:
- Test sample colours on a small, sanded area
- Let you see them dry so you can compare properly
- Apply your chosen colour evenly across the floor
After staining, we allow adequate drying time before any sealers or topcoats go down.
7. Sealing and finishing
Finally, we apply new protective coats. Options include:
- Lacquer (varnish) – hard-wearing, low maintenance, available in matt, satin or gloss
- Hardwax oil – natural look and feel, easy to patch repair local damage
- Penetrating oils – classic, warm finish, great on certain hardwoods
Our hardwood floor refinishing service is all about choosing the right finish for your lifestyle: busy family home, pets, rental property, light-use room, or high-traffic commercial space.
Most floors receive one primer or base coat plus two top coats, with a light de-nib between coats for a smooth final surface.
8. Clean-up and handover
We never just pack up and leave:
- Any remaining dust is vacuumed from skirtings and surfaces
- Pads, tape and coverings are removed carefully
- We walk the floor with you, talk through the result and aftercare
- You’ll get simple guidelines to keep your floor looking its best
By the time we go, your floor will look completely different – but the house will still feel clean and liveable.
Why professional sanding beats DIY every time
It’s tempting to hire a machine from the local shop and “have a go”. Unfortunately, we’re often called in afterwards to rescue floors that have been:
- Gouged and uneven from stopping and starting
- Sanded across the grain in corners
- Left with swirl marks and chatter lines
- Over-sanded around the edges of rugs or furniture
Here’s why professional wood floor sanding is usually the smarter choice:
1. Better machines
Trade belt sanders, edgers and buffers are more powerful and more controllable than basic hire machines. They cut efficiently and evenly.
2. Proper dust control
Our systems connect to high-filtration extractors, massively reducing airborne dust. That means cleaner air and less cleaning afterwards.
3. Experience and technique
Knowing which grit to start with, when to change direction, how to blend repairs – these are all skills learned over hundreds of floors.
4. Professional finishes
We use high-quality trade lacquers, oils and primers that outlast many DIY products. They’re applied in the right conditions and at the correct coverage rates.
5. Time and stress
What might take you three exhausting weekends can often be completed by a professional team in a day or two – with far better results.
Different floor types – one simple, tailored approach
Not all wooden floors behave the same, so our services are tailored to each type.
Solid hardwood floors
Oak, beech, maple and other solid hardwood floors respond brilliantly to hardwood floor sanding. They can usually be sanded multiple times over their life, making them a long-term investment.
Engineered wood floors
Engineered floors have a thinner hardwood layer on top. With the right technique and equipment, many can still be sanded once or twice. We carefully assess each floor before recommending any work to avoid over-sanding.
Parquet blocks and herringbone
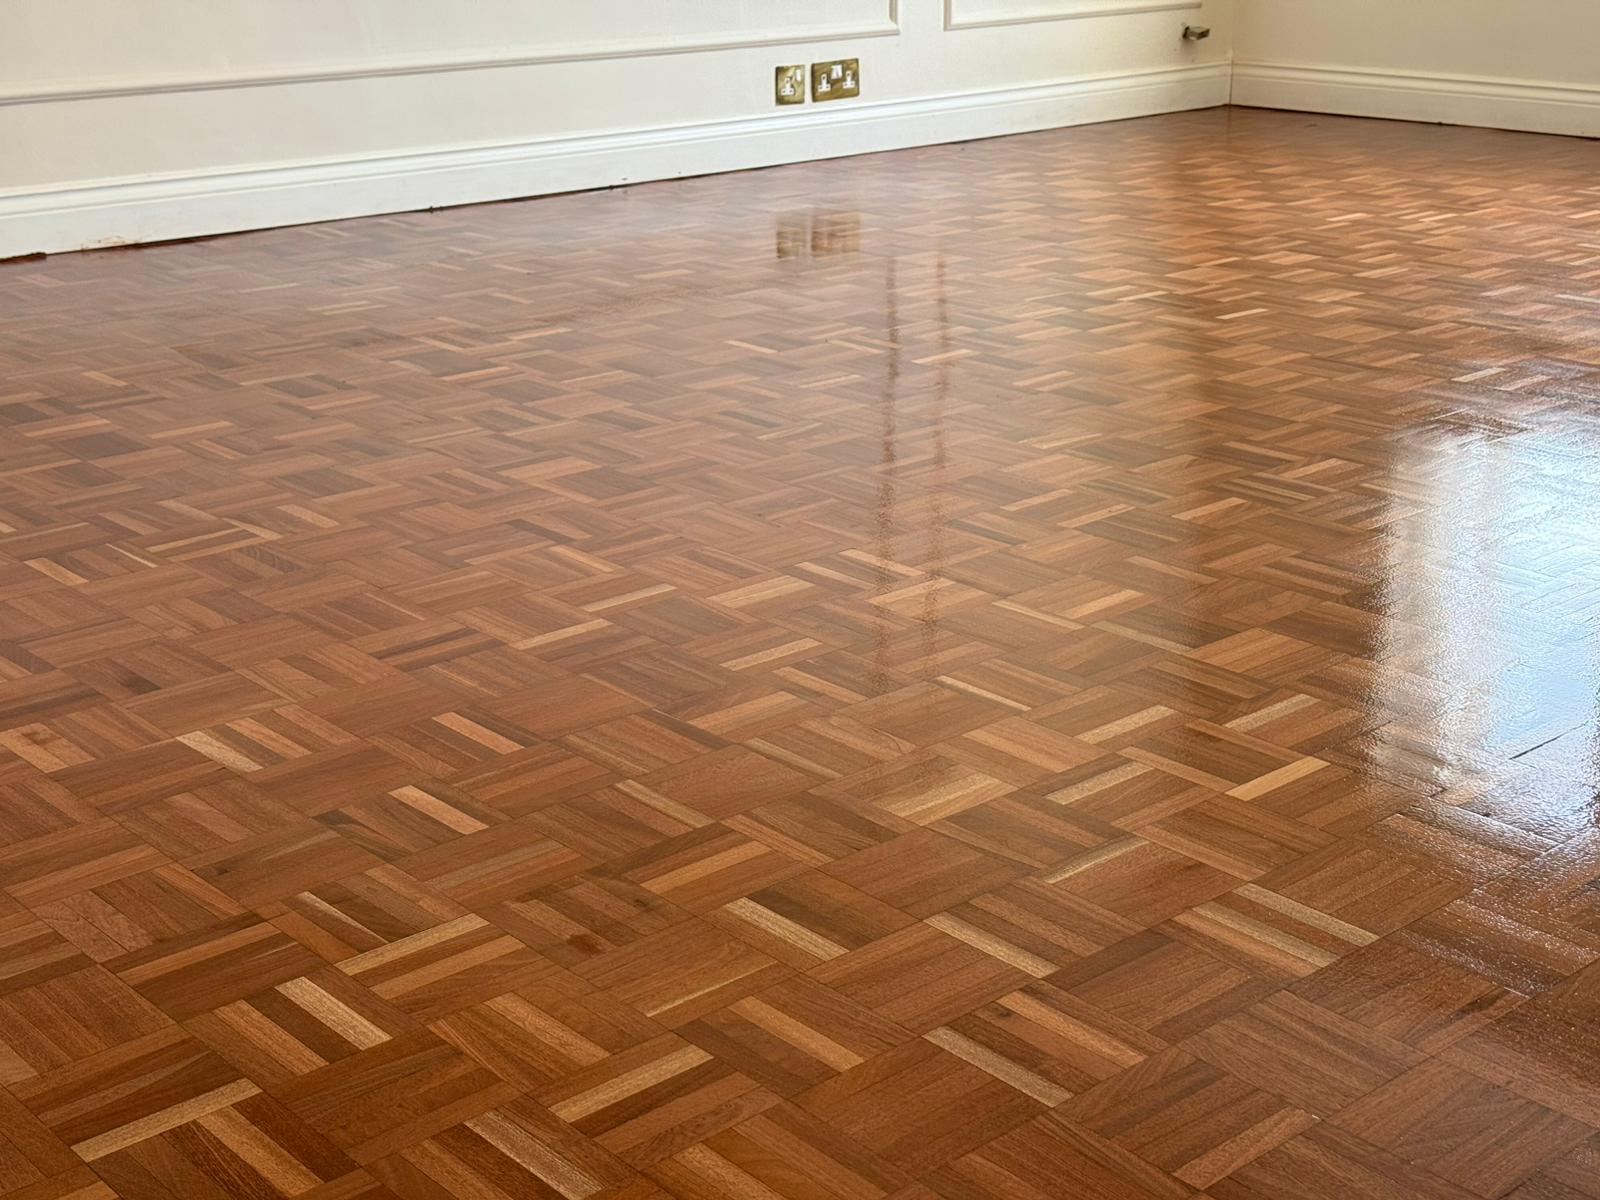
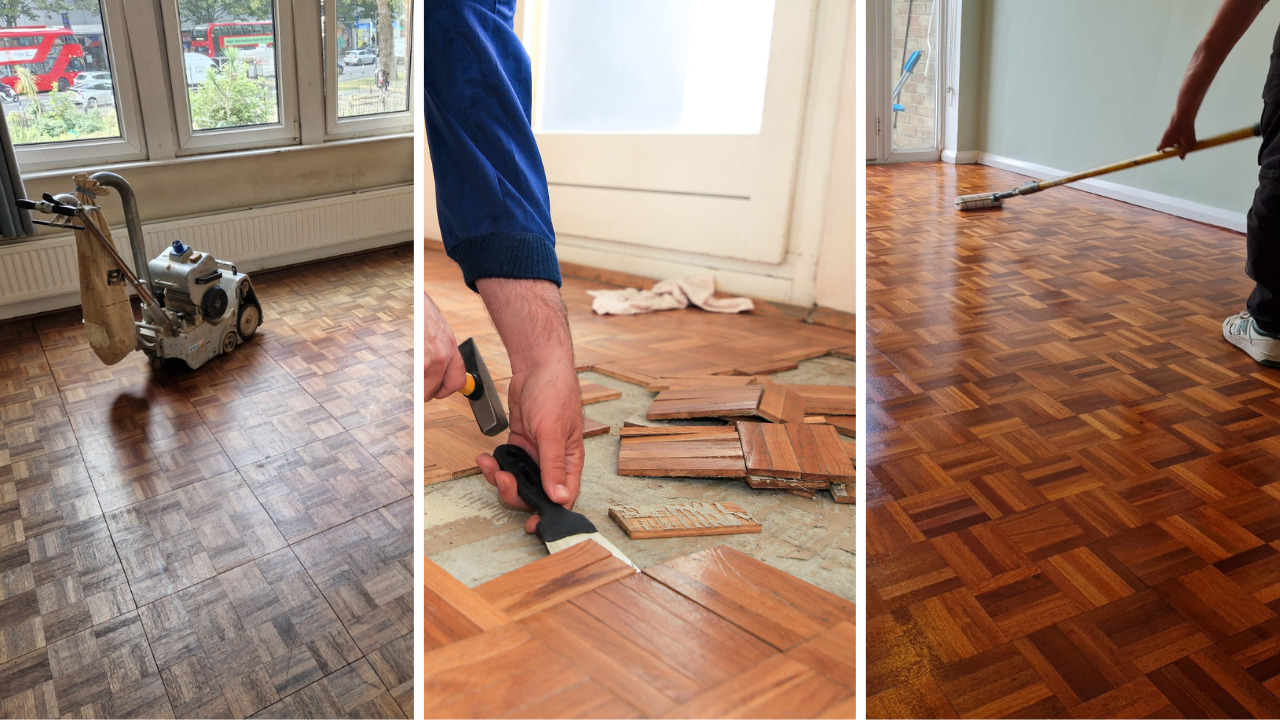
Our specialist parquet floor sanding service deals with mosaic, herringbone and basketweave designs. These floors can be truly stunning once old finishes are removed and fresh lacquer or oil is applied.
Loose blocks can be re-bonded, missing pieces replaced and patterns reinstated so the floor looks as it did when first laid.
Floorboards and pine softwood
Original pine boards are common in UK homes. They mark more easily than hardwood, but respond beautifully to careful sanding and good finishing. We can fill gaps, replace damaged boards and seal everything for a natural, warm look.
Commercial and communal areas
Shops, offices, halls and communal areas benefit from our commercial floor sanding service, using heavy-duty finishes designed for higher traffic. We can often work outside normal hours to minimise disruption.
How long does wood floor sanding take?
Every job is different, but as a rough guide:
- Small room (up to 12m²) – often completed in a day
- Medium room (12–25m²) – typically 1–2 days
- Large room / open-plan space – 2 days or more
Remember, drying times for finishes matter too:
- You can often walk on the floor in socks after a few hours
- Light furniture can usually go back after 24–48 hours
- Rugs are best kept off for 5–7 days to allow full cure
We’ll always give you a realistic timeframe for your specific floor so you can plan around it.
Aftercare: keeping your newly sanded floor looking new
Once your floor has been transformed, a few simple habits will keep it looking good for years.
In the first week
- Walk in socks or soft shoes where possible
- Avoid dragging furniture – lift and place
- Keep pets’ claws trimmed
- Don’t cover with rugs until the finish has fully cured
Ongoing care
- Use doormats at entrances to trap grit
- Sweep or vacuum with a soft brush attachment regularly
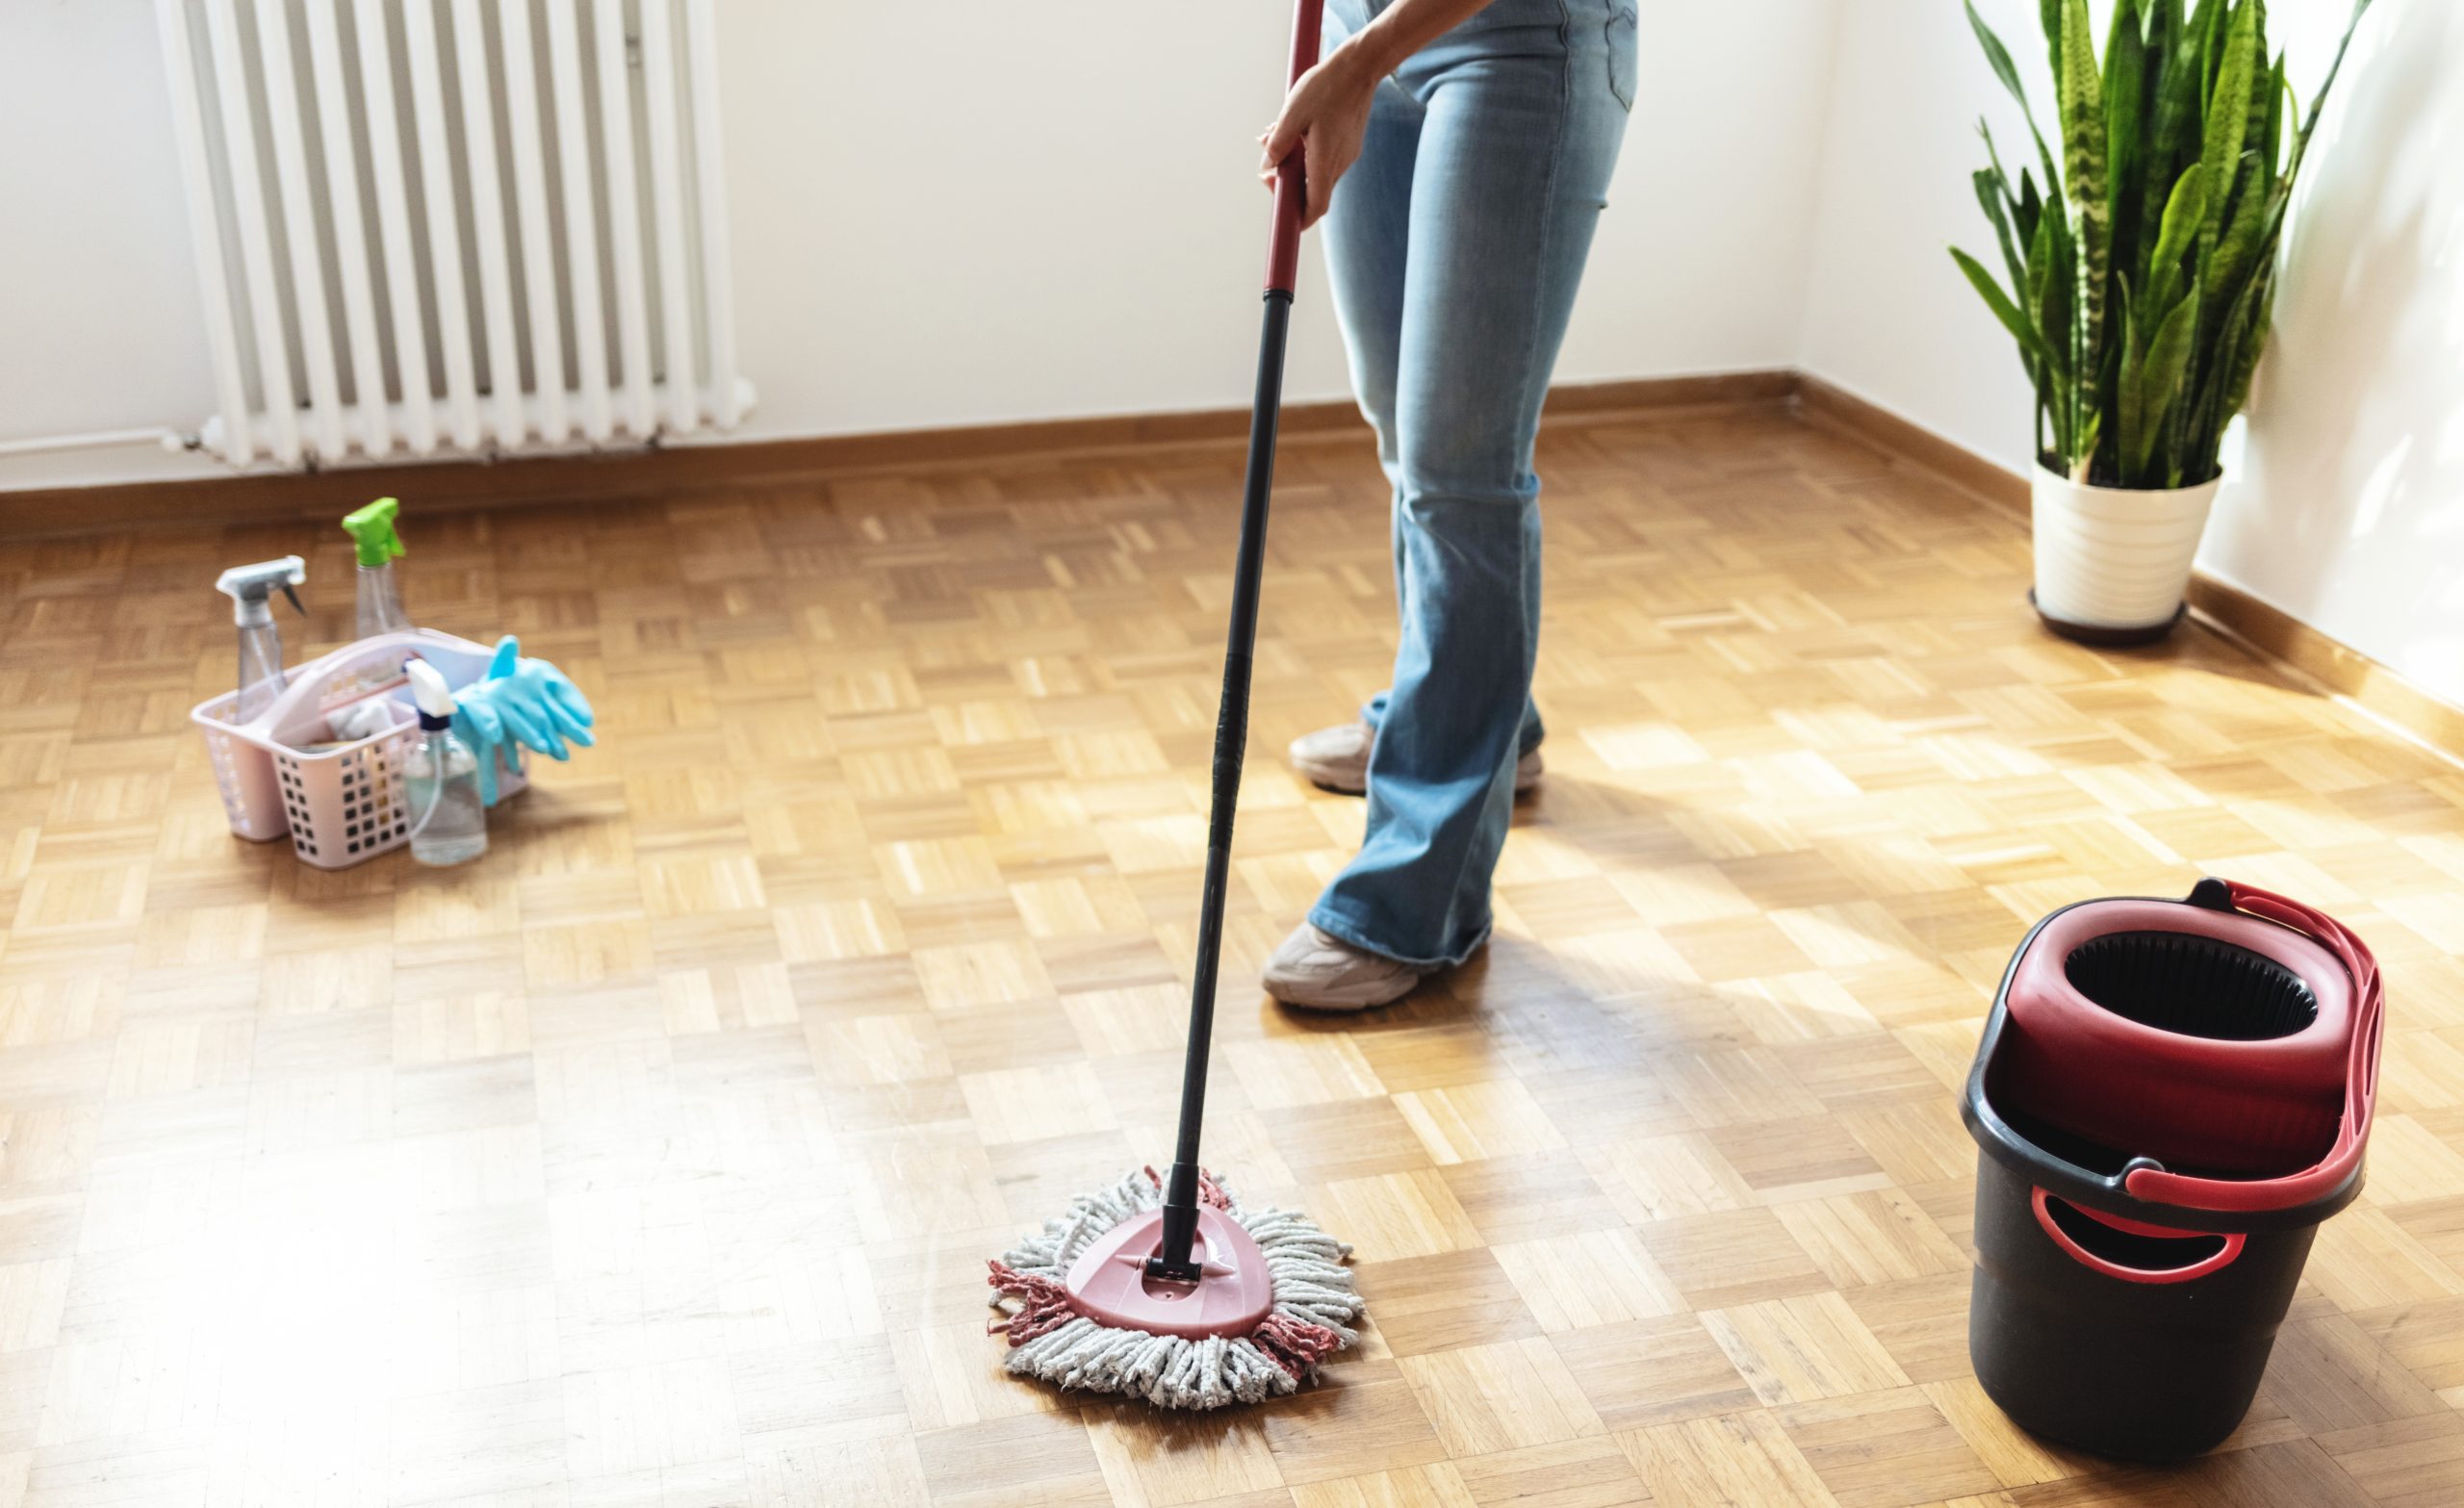
- Mop lightly with a well-wrung microfibre mop and a suitable wood floor cleaner – never soak the floor
- Put felt pads under chair and table legs
For high-traffic family homes, an occasional maintenance coat can keep your hardwood floor refinishing looking fresh without needing a full re-sand.
Common questions about wood floor sanding
Will it be very dusty?
Modern, professional wood floor sanding is surprisingly clean. Our machines are connected to powerful extraction units, so most dust is collected at source. A light dusting is normal, but nothing like the horror stories you may have heard.
Is it very noisy?
Sanding machines are noisy while running, but we work as efficiently as possible and keep disruption to a minimum. Neighbours will hear it, but only during normal working hours.
Do I need to move all my furniture out?
Ideally, yes – the clearer the room, the better and faster the job. We can sometimes work in stages where this isn’t possible, or assist with lighter items by arrangement.
Can you get rid of all scratches and stains?
Most surface scratches disappear completely. Deep gouges and old, dark water stains may always leave a faint trace, but they are usually much less noticeable after sanding and hardwood floor refinishing.
What about gaps between floorboards?
Our gap filling service can significantly reduce draughts and dust. We’ll advise whether resin, slivers or a combination is best for your floor.
Is my floor too thin to sand?
We assess every floor before we start. Engineered floors with a very thin wear layer, or old floors that have been heavily sanded in the past, may not be suitable. In that case, we’ll always be honest and discuss other options.
Signs your floor is ready to be sanded now
Not sure whether to book? Look out for:
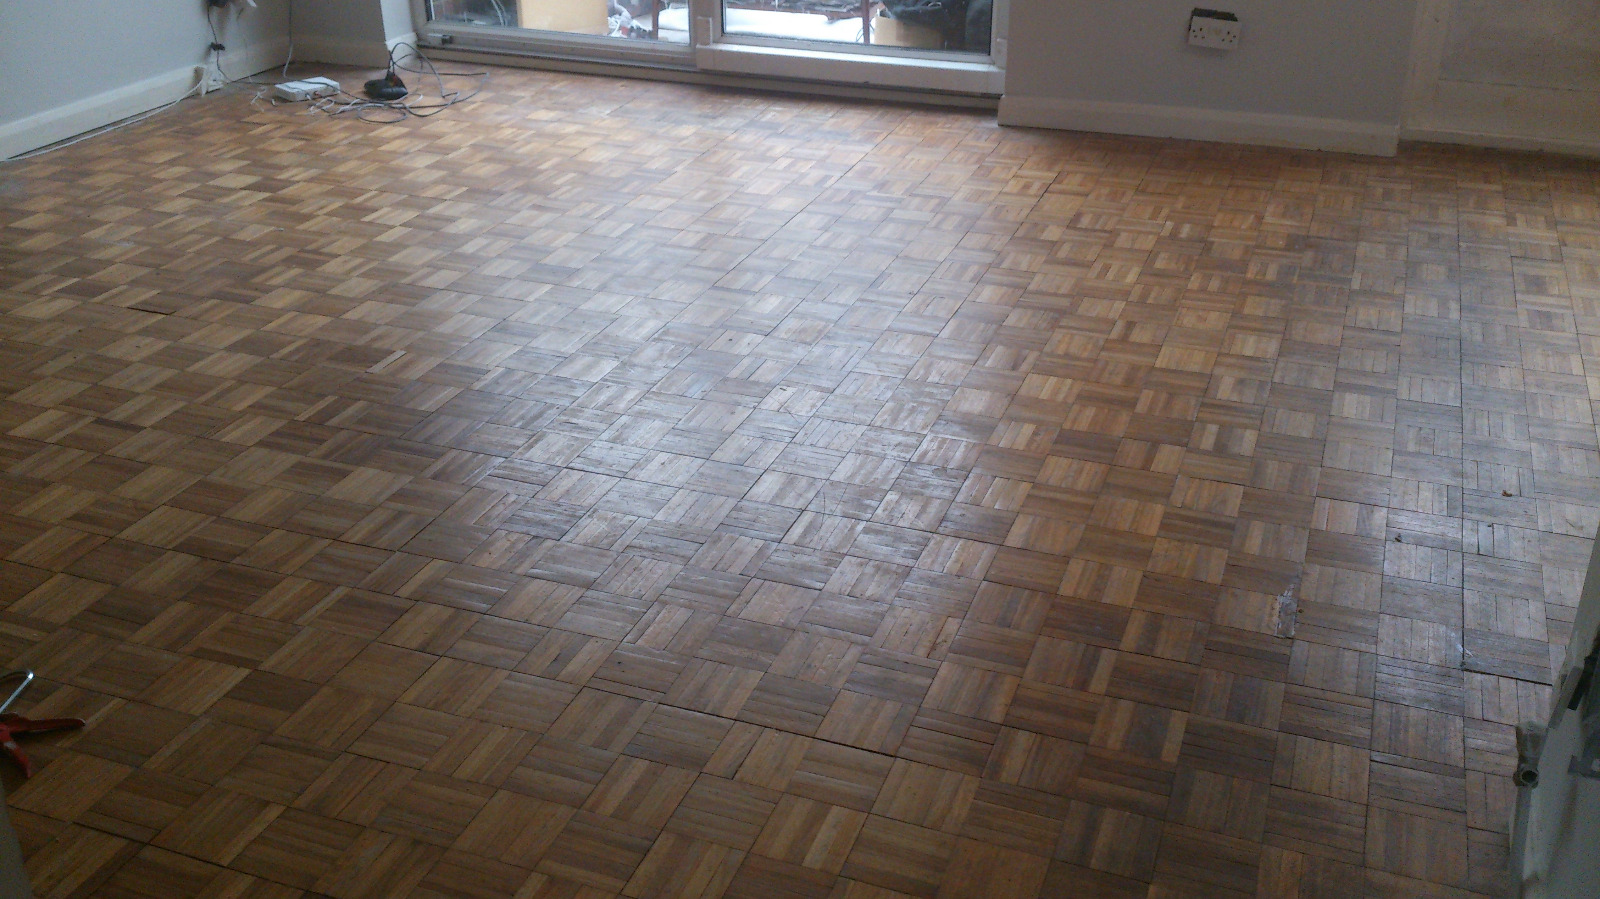
- Grey, bare wood where the finish has completely worn away
- Patches that stay dark after mopping – a sign moisture is soaking in
- Rough, splintery areas under bare feet
- An old finish that’s peeling, flaking or patchy
- Colour so dated it’s holding the room back
If you tick more than one of these, your floor is crying out for wood floor sanding and refinishing. The earlier you tackle it, the more original timber we can save – and the better the result.
Ready to restore your tired boards? Here’s the simple next step
Transforming your floors doesn’t need to be complicated or stressful. With the right team, wood floor sanding really can be simple:
- Get in touch – Send photos and a rough room size for a fast, no-obligation estimate.
- Book a convenient date – We’ll agree timings that work around your home or business.
- Enjoy the result – In just a short time, those tired boards become a smooth, clean, beautiful floor again.
Whether you need full wood floor sanding, specialist parquet floor sanding or complete hardwood floor refinishing, the team behind hardwoodfloorsanding.co.uk is here to help.
Your floor is one of the biggest, most important surfaces in your home. Give it the attention it deserves – and let those tired boards become the star of the room again.